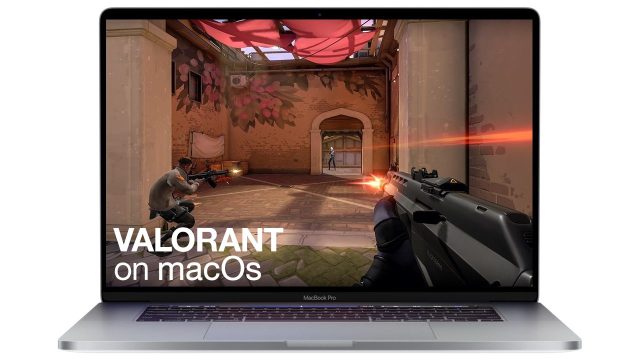
Riot Game’s first-person-shooter, Valorant, won’t be compatible with Mac operating systems on release. Riot’s intense anti-cheat, Fog of War, doesn’t play well with Mac OS, which is known for its stubborn security. Luckily, there’s a simple workaround for Mac users interested in playing the game that doesn’t involve shelling out big bucks for a new PC.
Boot Camp is the most popular software to run Windows-only games on Mac. The software allows users to install Windows onto their system easily. That means you can use it to set up your Mac for Valorant by following a few steps. You’ll step foot on the battlefield in no time!

Before you get started…
Which Mac OS devices can run Windows?
Any recent Mac device supports Windows 10. Here is a full list of compatible devices:
- MacBook 2015 or later
- MacBook Air/Pro 2012 or later
- Mac mini 2012 or later
- iMac 2012 or later
- iMac Pro (all models)
- Mac Pro 2013 or later
Prepping for Boot Camp
There are a few things you’ll need to check off the list before you set up Windows on your Mac OS.
- Make sure your system has enough hard drive space to support Windows 10 and Valorant. For reference, 64-bit Windows 10 requires 20 GB, while 32-bit needs 16 GB. Additionally, Valorant is 6.9 GB.
- Note: Apple recommends a minimum of 64 GB of available free space.
- You may need a memory stick of at least 16 GB for additional driver software required by Windows.
- Download the Windows 10 ISO file. Make sure you save the file somewhere you can easily access on the computer.
- You will need a fully paid version of Windows, including the license number. New Macs and models running Catalina only run Windows 10. However, older versions may support Windows 7 or 8.1. Check here to see what versions of Windows you can run.
Installing Windows with Boot Camp
Step 1: Open Boot Camp Assistant

Boot Camp is installed on all Mac devices. When running the software for the first time, it will prompt you to select a number of options. Click “Choose…” on the right side of the “ISO Image” option. Navigate to the ISO file you downloaded in the prep stage. Boot Camp will copy your file onto your USB stick. Then click “Continue”.
Note: In this step, make sure the USB you want to save your files to is selected under “Destination disk.”
Step 2: Download driver software
Boot Camp assistant will automatically download all Windows 10 and 8.1 drivers to your memory stick. If you’re installing Windows 7 (which is the earliest version of Windows supported by Valorant), you’ll need to head over to Apple’s site to locate the necessary drivers.
Step 3: Partitioning

To make room for Windows on your system, you’ll have to separate the system’s hard drive into sections, known as “partitions.” There’s a slider (the dot between sections) that you can use to allocate more or less space to Windows.
Step 4: Installing Windows
After partitioning your hard drives, Boot Camp will shut down your system and automatically launch the Windows installer from the memory stick. Follow the prompts as they come up during installation. When Windows successfully boots, you’ll be prompted to install the other drivers.
Step 5: Running Windows
Now that you’ve installed Windows, you can dual-boot between the operating systems. Pressing Alt (aka Option) when your system is turning on will bring up the partitions to choose from.
Congratulations! You’ve set up Windows on your Mac device. Now you’re ready to download Valorant and pop some heads.


